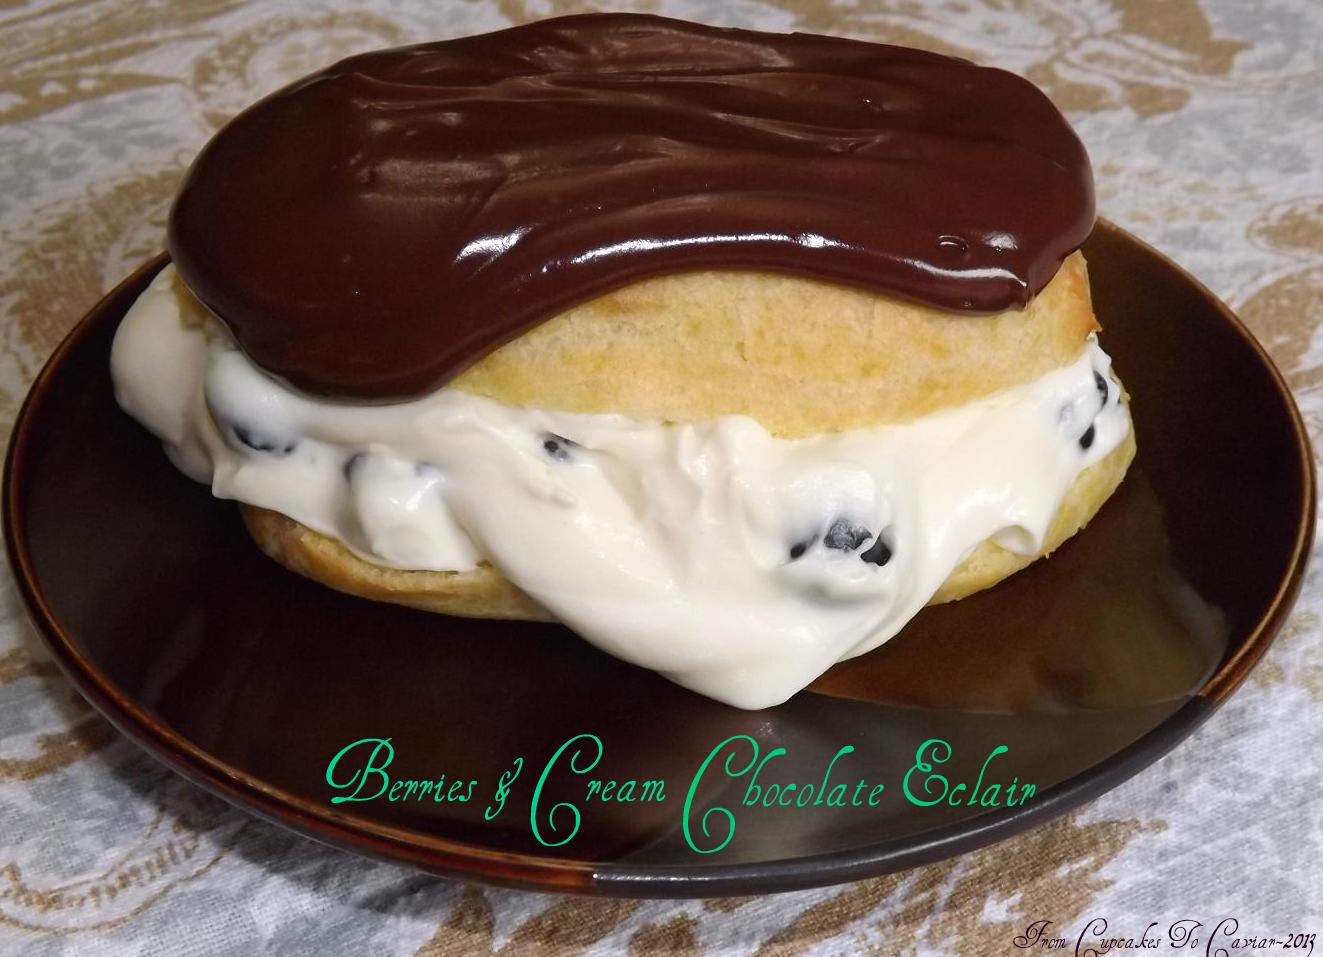
Berries & Cream Chocolate Eclairs

I like to lie to myself sometimes. I lie and tell myself that yes, I really Do look good with a muffin top in my jeans and I am the only one around who can totally rock that style. Then I sob hysterically and smack myself around for lying.
I lie and tell myself that I will be just fine with only 3 hours of sleep because I stayed up late watching reruns of Cold Case (gosh, I love that show). Then I look in the mirror the next morning and wonder who had to have rubbed purplish black makeup all under my eyes while I slept and why my wrinkles suddenly look deeper. Then I sob hysterically and smack myself around for lying.
I lie and tell myself that rereading The Proud Breed by Celeste DeBlasis for the 15th time counts as deep reading because she has well researched information on the history of the state of California in it amidst all the love scenes and dramatic romance. Then I get sad when I realize how few functioning brain cells I have left because I continue to read books like that. Then I sob hysterically and smack myself around for lying.
I lie and say that eating Brachs Fruity Gummis for dinner is perfectly all right because I am 48 years old and am allowed to make decisions like that. Then I wake up the next morning and try to stuff myself into a pair of jeans that has magically grown too small. Then I sob hysterically and smack myself around for lying. And the cycle begins all over again.
I also lie when I eat desserts like this and tell myself that because it tastes so light, it MUST be low calorie and quite possibly as good for me as say, a lean chicken breast and a green salad. I lie and ignore the eggs, the cream, the chocolate, the more cream etc etc etc. Then I sob hysterically…and well, you get the point.
I lie a lot. But only to myself. Well, maybe also to my kids when I say that I ate all the chocolate when I know it’s just well hidden.
But sometimes lies are totally worth it. And if lying lets me eat one or eight of these eclairs, I’m all for a life lived lying. The pastry cream alone is worth a lie or two…or three…or fifty. Add in the puffy pasty outside and the thick sour cream chocolate icing and you’ll be willing to lie too. But I take no responsibility for your morals when it comes to chocolate. It’s all on you.
You will probably end up with leftover pastry cream and frosting. I promise… you won’t mind. Take it and layer it in parfait glasses and make somebody happy. It’s an easy way to let little kids enjoy this dessert without the mess of them trying to eat an eclair.
You know the drill. Get to cookin’.
Berries & Cream Chocolate Eclairs
- Choux pastry-
- 1/2 cup unsalted butter
- 1 cup water
- 1/4 teaspoon salt
- 1 cup flour
- 4 eggs
- Pastry Cream-
- 1 cup sugar
- 1/4 cup flour
- 1/4 teaspoon salt
- 1 1/2 cups milk
- 6 egg yolks, lightly beaten
- 2 teaspoons vanilla extract
- 1 1/2 cups heavy cream
- 2 cups mixed berries (I used blueberries and blackberries. Use your favorite)
- Chocolate Sour Cream Icing-
- 1 cup milk chocolate chips
- 1 cup semisweet chocolate chips
- 3/4 cup sour cream
- Make your pastry cream-
- In a medium (preferably non-stick) saucepan, combine the flour, salt and sugar. Stir in the milk until you have a smooth mixture. Cook over medium heat until it comes to a boil and thickens. Boil for one minute, stirring constantly.
- Beat a small amount of the hot milk mixture into the egg yolks to temper them, stirring it constantly. Then slowly pour the hot yolk mixture into the pot of the hot milk, stirring constantly.
- Cook over medium low heat until mixture again thickens up and coats the back of the spoon. Don’t let it come to a boil; it could separate.
- Remove from heat and stir in the vanilla extract. Put into a bowl and cover with plastic wrap and refrigerate until well chilled. Meanwhile, make your eclairs.
- For the eclairs-
- Preheat oven to 375 degrees and grease a large baking sheet.
- In the same medium saucepan from earlier (washed of course) heat the butter, salt and water over medium high heat until it comes to a boil. Pour in the flour all at once. Stir vigorously until mixture comes together and leaves the side of the pan in a ball.
- Add in the eggs, one by one, stirring well after each one, until smooth.
- Let the mixture cool slightly, then drop large spoonsful of it into the prepared pan, shaping into a roughly rounded rectangular shape.
- Bake at 375 for about 25 minutes or until the eclairs look lightly browned and dry. Take them out and cut a small slit in the side of each, then put them back into the oven and cook until golden brown, about 10 minutes. The cut helps the inside dry out.
- Take out and cool on the pan for about 15 minutes. Then cut them in half and carefully pull out the doughy insides of each one.
- Get your pastry cream out to finish preparing it. In a medium bowl, whip the heavy cream until it forms fairly stiff peaks. Stir about a quarter cup of it into the pastry cream to lighten it up, then fold in the rest of the cream until no white streaks remain.
- For the icing, melt your chocolate chips in the microwave in a microwave safe bowl in 30 second increments at 60% power until you can stir it freely and it is totally melted. Stir in the sour cream. If it thickens up too much to spread after the cold sour cream hits it, microwave it again, 15 seconds at a time, at 60% power, until it is smooth and glossy.
- To put the eclairs together-
- Fold the berries into the prepared pastry cream. Spoon about 1/3 of a cup of the pastry cream (more or less as desired but know if you use more, you will NOT be able to pick these bad boys up without a mess lol)Â into the bottom half of each eclair then put the top half on top of that. Then spread each eclair with a good dollop of frosting.
- If not serving immediately, these need to be refrigerated but I strongly suggest NOT doing final prep on them until just about ready to serve as the eclairs will get soggy otherwise.
Copyright Notice: From Cupcakes To Caviar images and original content are copyright protected. Please do not publish these materials anywhere without prior permission.