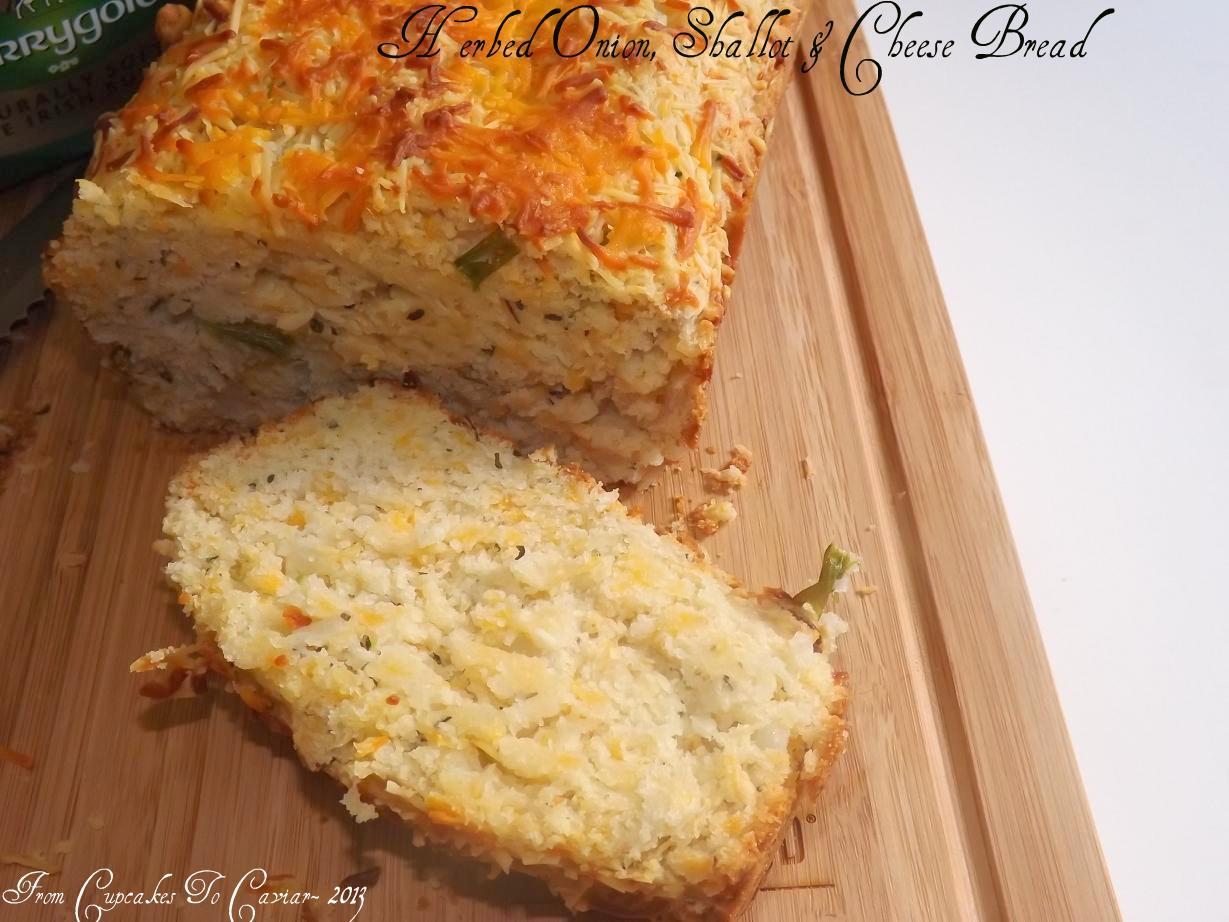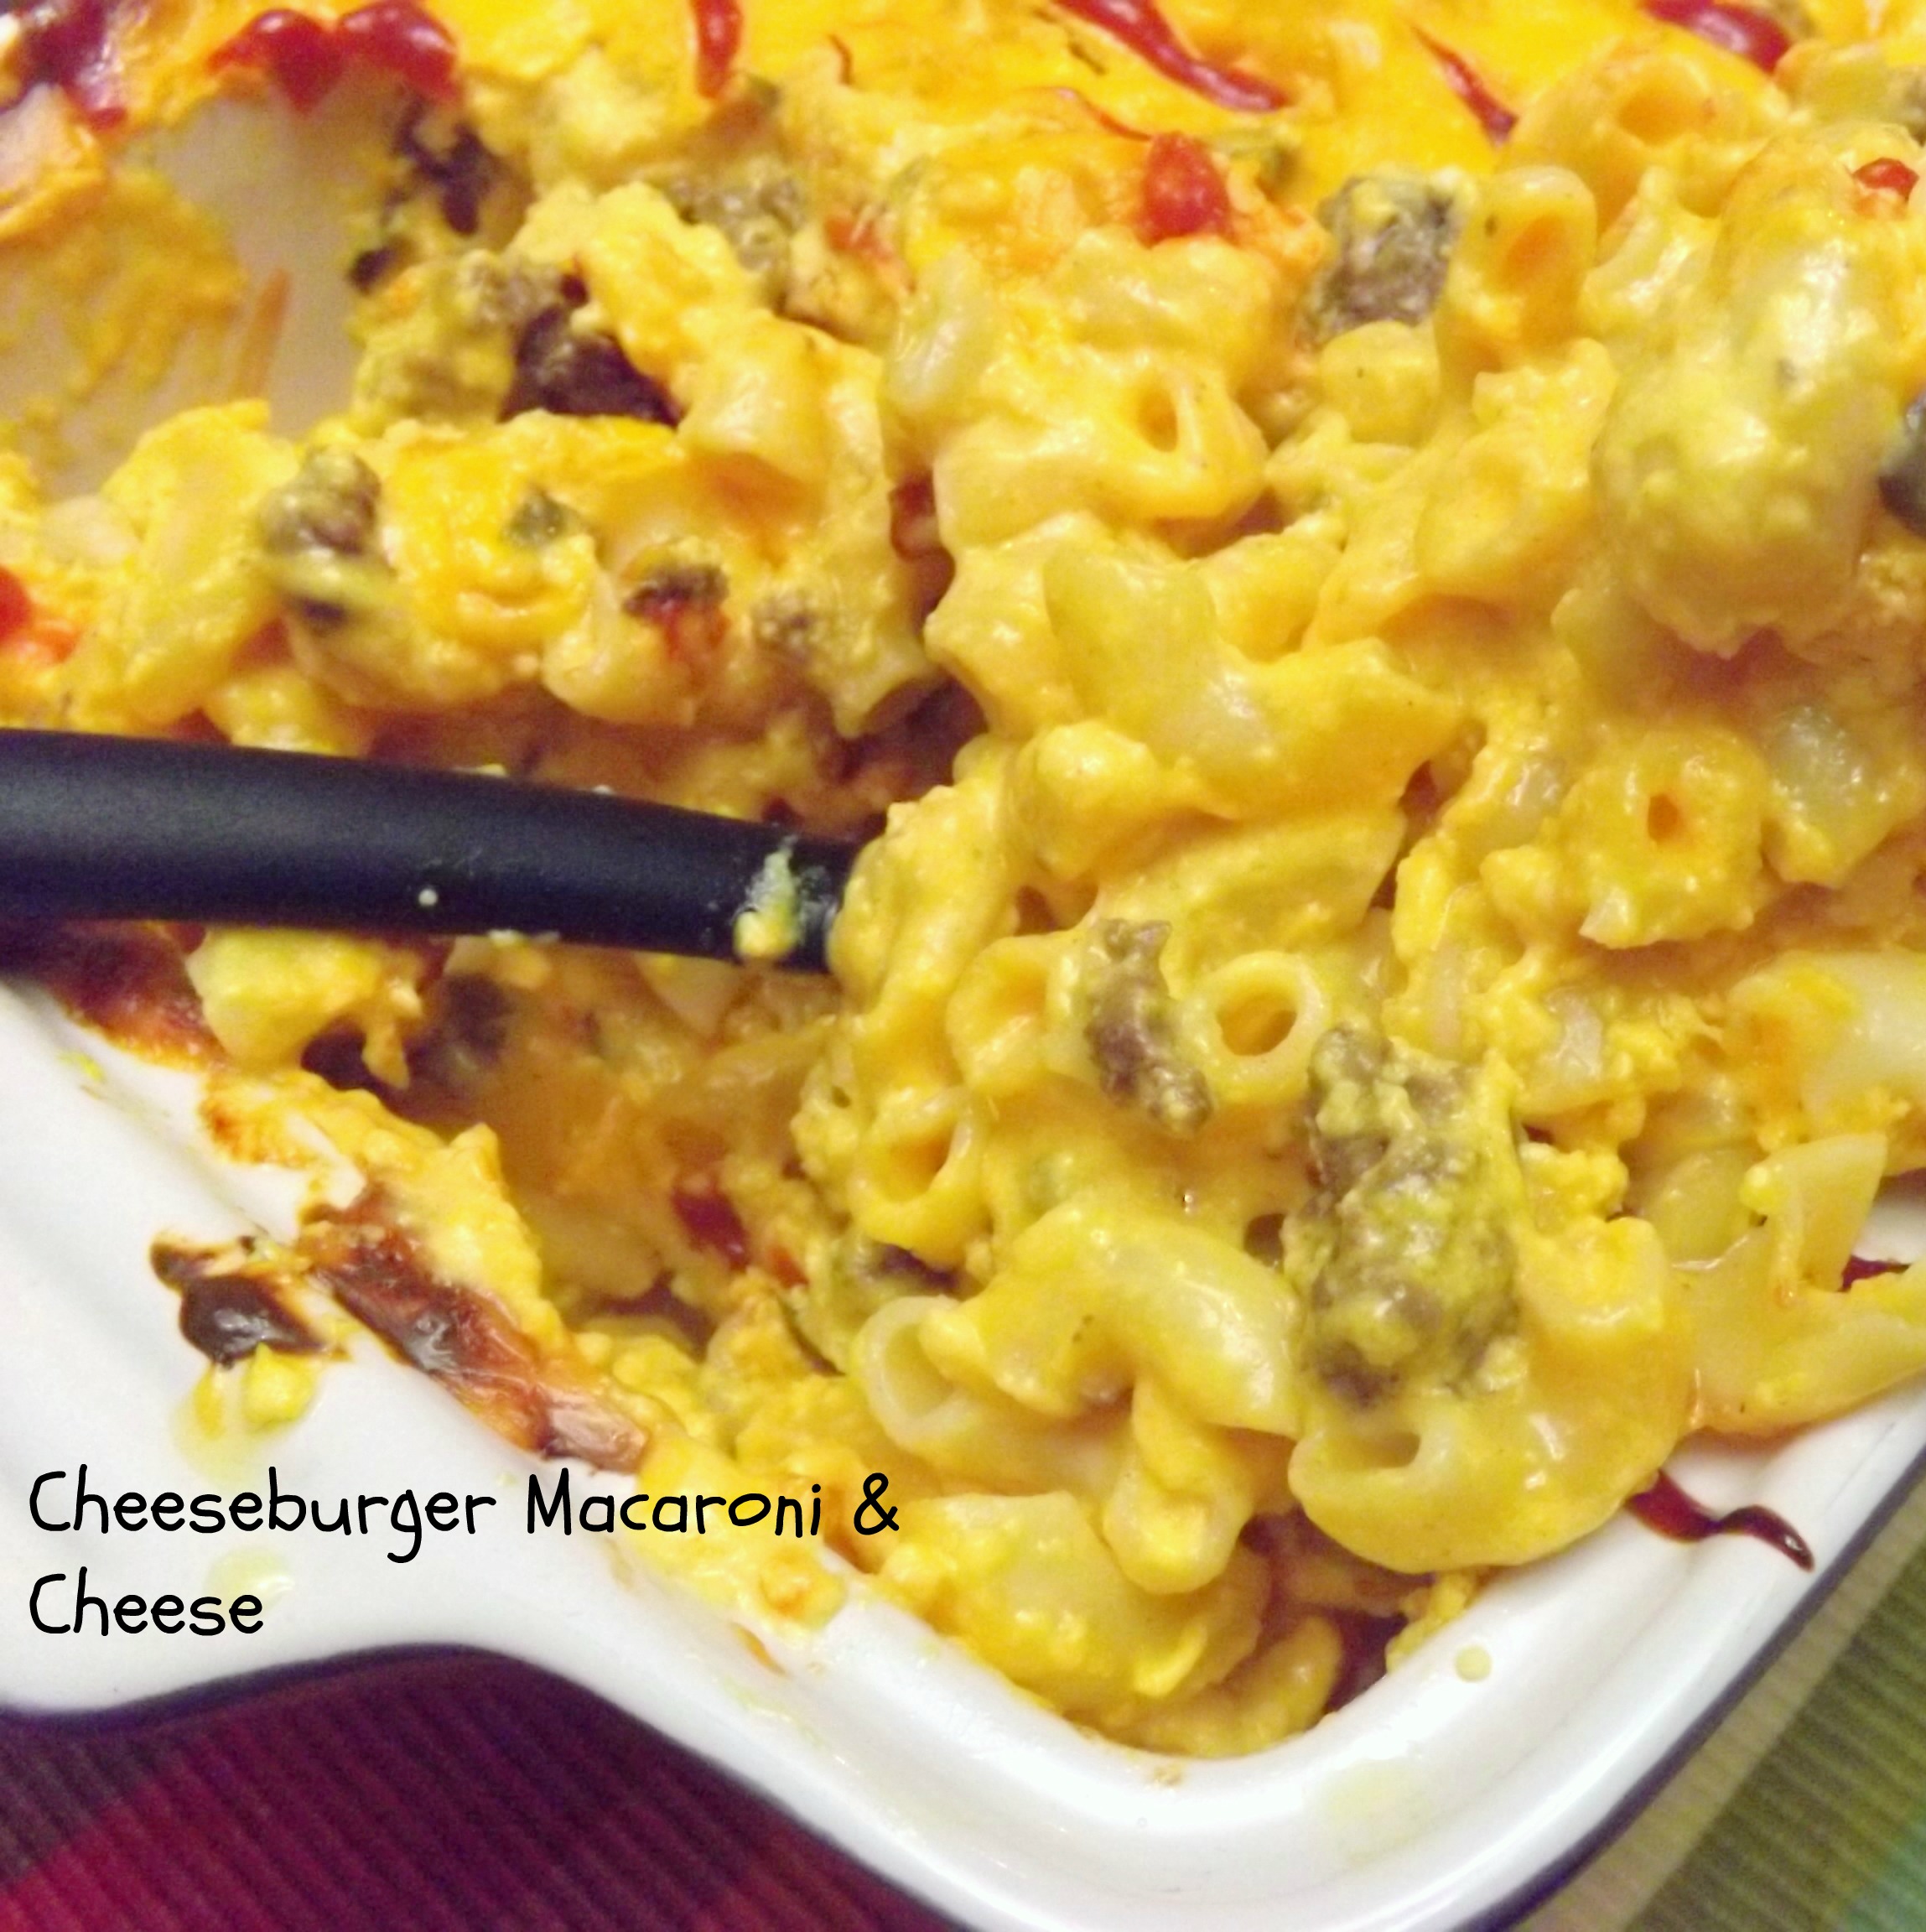
Cheeseburger Macaroni & Cheese

I remember when I got married at 20. While I knew more or less how to cook and had been doing it for about ten years at that point, the main things I had made up till then were baked goods and home made candy. Dinners were pretty simplistic when our mom wasn’t home. So when my then husband and I moved to Germany and I was cooking for us both, it was…interesting… to say the least. One of the things I made we simply called “goop”. It involved taking a box of cheap mac and cheese, browning a pound of ground beef and mixing them. That was it. No seasoning, nothing. Also no nutrition and not much flavor hehe. Early home made Hamburger helper. Then when I had five kids, all fairly young, to feed, and I was working, the real hamburger helper became an easy stand by. Same concept; brown the beef, mix into the pasta. Easy, quick, with a flavor reminiscent of sewer water but the kids liked it.
Nowadays however, I prefer to make my version of it. Making it yourself leaves you with at some idea that there is a modicum of nutrition in there and no cheese that is powdered. Mind you, this is NOT diet food by any stretch of the imagination. What it is however is tasty, filling, hearty for a cool night and kids and adults both love it. The flavor actually does remind you of a cheeseburger from a fast food place that shall remain unnamed. You have your ketchup and mustard, the dill pickle, even the little bits of re-hydrated dried onions.
My photo here bites donkey weenies. It was dark, I was feeling well and no matter how I tried, I couldn’t get decent light. So trust me, this is far better than my photo portrays it as being lol. Also, this makes enough for dinner on 2 nights so if you don’t want that cut this recipe in half :-)Â I like the whole recipe myself. Gives me one night of leftovers, thus more time to be lazy and watch reruns of Army Wives. Win Win situation for me!
You know the drill…
Cheeseburger Macaroni & Cheese
- 1 1/2 lbs elbow macaroni, cooked, drained and set aside
- 2 lbs ground beef (chuck works best in this)
- 2 lbs mild cheddar cheese, shredded
- 1 lb Velveeta or American cheese, shredded or cubed
- 1 1/2 cups milk
- 2 eggs, beaten (bad eggs, bad eggs! Sorry; I’ll stop now.)
- 1/4 cup unsalted butter
- 3 tablespoons dill relish
- 2 tablespoons mustard
- 1/4 cup ketchup
- 2 tablespoons dehydrated chopped onions
- Preheat oven to 350 degrees.
- Brown your ground beef over medium high heat. Drain, mix with your pasta and set aside. Bring your milk to a simmer in a heavy bottomed pot. Add in the Velveeeta cheese; stir constantly over medium heat until the cheese is melted and the mixture is smooth.
- Take about 1 cup of the mixture and slowly drizzle into the beaten eggs, whisking constantly. This tempers the eggs and prevents them from turning into scrambled eggs when you add them to the milk.
- Pour the eggs into the pot of milk/cheese and stir constantly until combined. Cook over low heat for about 3 minutes. Remove from heat. Add in the ketchup, mustard, dill relish and dried onions. Set aside.
- Butter a large (3 quarts at least) baking dish. Add in half the pasta/beef mixture. Now cover with half the shredded cheese, then with half the cheese sauce mixture. Repeat this layering one more time. Sprinkle with additional cheese if desired but even I have to say it doesn’t need it. I know, right?! ME… saying you don’t need more cheese! Drizzle with some extra ketchup just to up the whole burger factor.
- Bake uncovered at 350 degrees until bubbly and golden brown, about 30 minutes.
- Served with a side salad and rolls, this makes and extremely kid friendly dinner. 🙂
Copyright Notice: From Cupcakes To Caviar images and original content are copyright protected. Please do not publish these materials anywhere without prior permission.