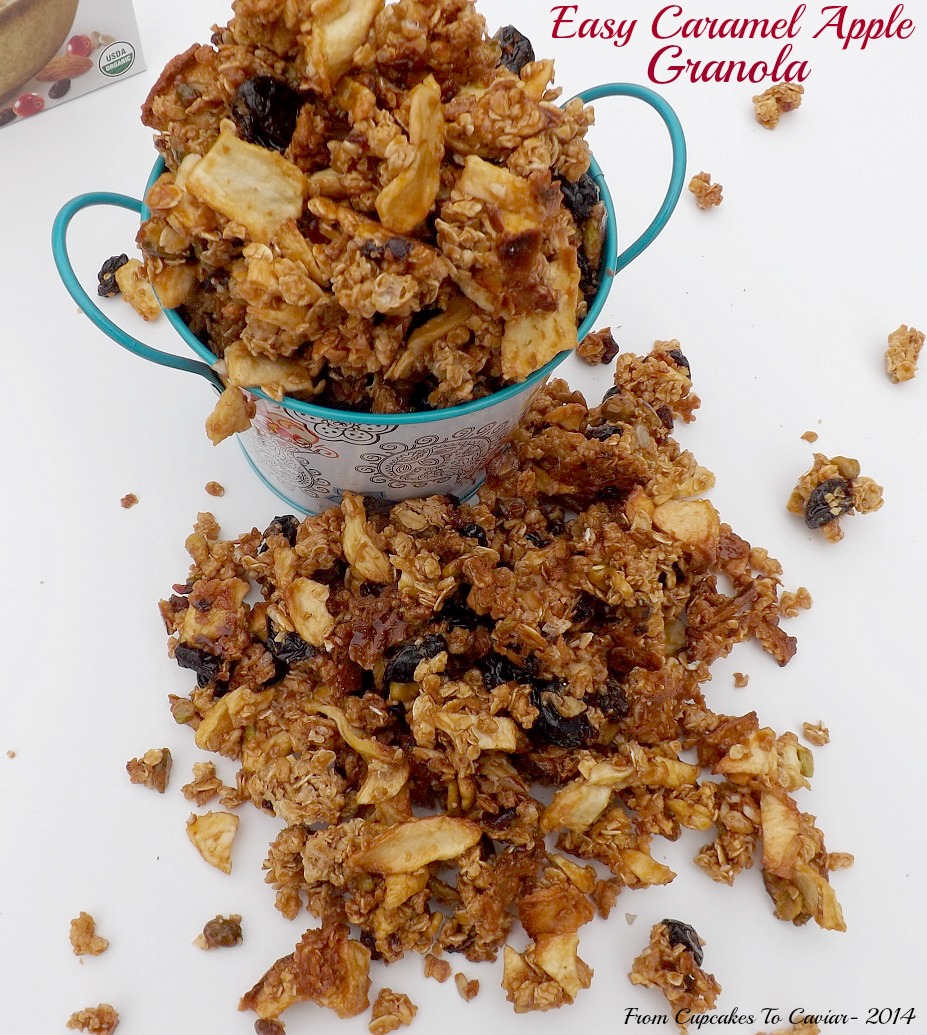
Easy Caramel Apple Granola

Back when I was a kid (yeah, yeah, when dinosaurs roamed the earth and we wrote by chiseling on stone tablets), cereal was so much more fun. No one was worrying about whether it was gluten free, because no one knew what the heck gluten was. There was no panic over HFCS being used in cereals because we had the good stuff in our cereals… real sugar! Parents didn’t make their children start their days with food that was approved by our presidents wife (wth is up with that crap, anyway?); food that would carefully begin their days with a perfect balance of nutrients so that little Joey could go kick little Bobbys ass out on the playground when no one was looking because little Joeys mom and little Bobbys mom were in a feud over whose youth soccer league was better.
Nope… when I was a kid, we had far more fun being..well, kids. We ate Pop Tarts for breakfast (for the record, no, my son does not eat pop tarts for breakfast and yes, I know that makes me hypocritical. Ask me if I care. 😀 ), followed by a heaping bowl of something like Kaboom… aka round sugar shapes disguised with a bit of grain. Or maybe King Vitamin, aka, round sugary shapes disguised by a vitamin or two. Then there was the really fun stuff like Count Chocula, which one can only get now during the Halloween season (when the heck did Halloween become big business and even GET its own season, btw?) or one of my favorites, Super Sugar Crisp, well named because sugar made up 95% of its ingredients. In other words, damn, it tasted good! Now however, they have changed the name and the ingredients because the word sugar makes everybody freak out.
Did I forget to mention that was a child, we also played outside unattended, even after dark, and the police weren’t called on our parents, that if we acted up at school, our parents didn’t go in and blame the teacher, but actually disciplined us for what we did wrong and lets not forget the ever reliable, we walked five miles to school… uphill…. both ways.
All that being said, even when I was a kid, one of my favorite cereals has always been any type of granola. Granola has always had this strange rep as healthy. But guess what… it rarely is 😀 It has its good points nutritionally. Since it has a high proportion of fruit, nuts and grains, it has a fair amount of fiber and protein. But that comes with a price. It is also very calorie dense and if you use it like a “normal” cereal and just pour it in a bowl and douse it in milk, you will most likely end up with a 600 calorie bowl of breakfast. It’s better to use it more sparingly; portioned out for the kiddos or yourself in a baggie or mixed into yogurt, spooned over some ice cream or served as a snack with some cheese and fresh fruit.
When I got the idea for this granola, I was sure I would find 500 other incarnations of it online. But lo and behold, while there are caramel apple desserts galore, there was not one caramel apple granola that I found in like 20 pages of Google search. (Edited to add- my brother informed me that yes, there ARE a bunch of them and I realized that what I had googled was what I had originally intended to call this- caramel apple PIE granola. There are none of those, but alas, I’m not original in the other name. *sobs* Brothers! Always have to ruin ones fun!!) Yay for a brief moment of being unique!! I also originally intended to make this completely from scratch, but changed my mind. There are a TON of tasty, plain granolas out there for a decent price that are easily doctored up so I just rolled with that idea. I used my favorite plain granola- Cascadian Farms Fruit And Nut Blend. Then I added some salted caramel sauce (Trader Joes brand, but feel free to use homemade and to use a plain caramel sauce rather than salted), some chopped dried apple slices, some dried cherries, some roasted pistachio pieces for a bit of protein and crunch, mixed it all together and baked it for long enough to “set” the caramel. Let it cool, break it up and voila, you have the perfect snack!
You know the drill… 🙂
Caramel Apple Granola
- 4 cups (one 13.5 ounce box) of your favorite plain granola
- 2 cups chopped dried apple slices (about 1.5 bags)
- 2/3 cup dried tart cherries
- 2/3 cup roasted pistachios (no shell)
- 1 1/4 cups caramel sauce (homemade, store bought, salted or not; your choice)
- whatever else makes you happy in the way of nuts or fruit. You could also add about 1/4 cup of flax or chia seeds or some wheat germ
- Preheat oven to 325 degrees. Lightly grease a baking sheet with cooking spray.
- In a large bowl, combine all dry ingredients. Drizzle the caramel sauce over the top and using either a large wooden spoon or just your hands, mix it all together until the granola is evenly coated.
- Spread out onto the prepared baking sheet. Bake at 325 for ten minutes. Take out of the oven and break the granola up turning the pieces over, as the bottom will be getting crispy. Bake for ten more minutes at 325. Don’t over bake this. Remember, the granola was already ready to go. You are just baking this to set the caramel.
- Place the pan on a rack to cool completely. When cool, break this up into bite sized pieces (or chunks if that’s the way you roll… I tend to prefer smaller pieces so I can use it in yogurt). This is NOT a completely dry granola. It will have a slightly tacky feel even after baking because of the caramel sauce.
- When this is 199% cool, store in a tightly covered container.
Copyright Notice: From Cupcakes To Caviar images and original content are copyright protected. Please do not publish these materials anywhere without prior permission.