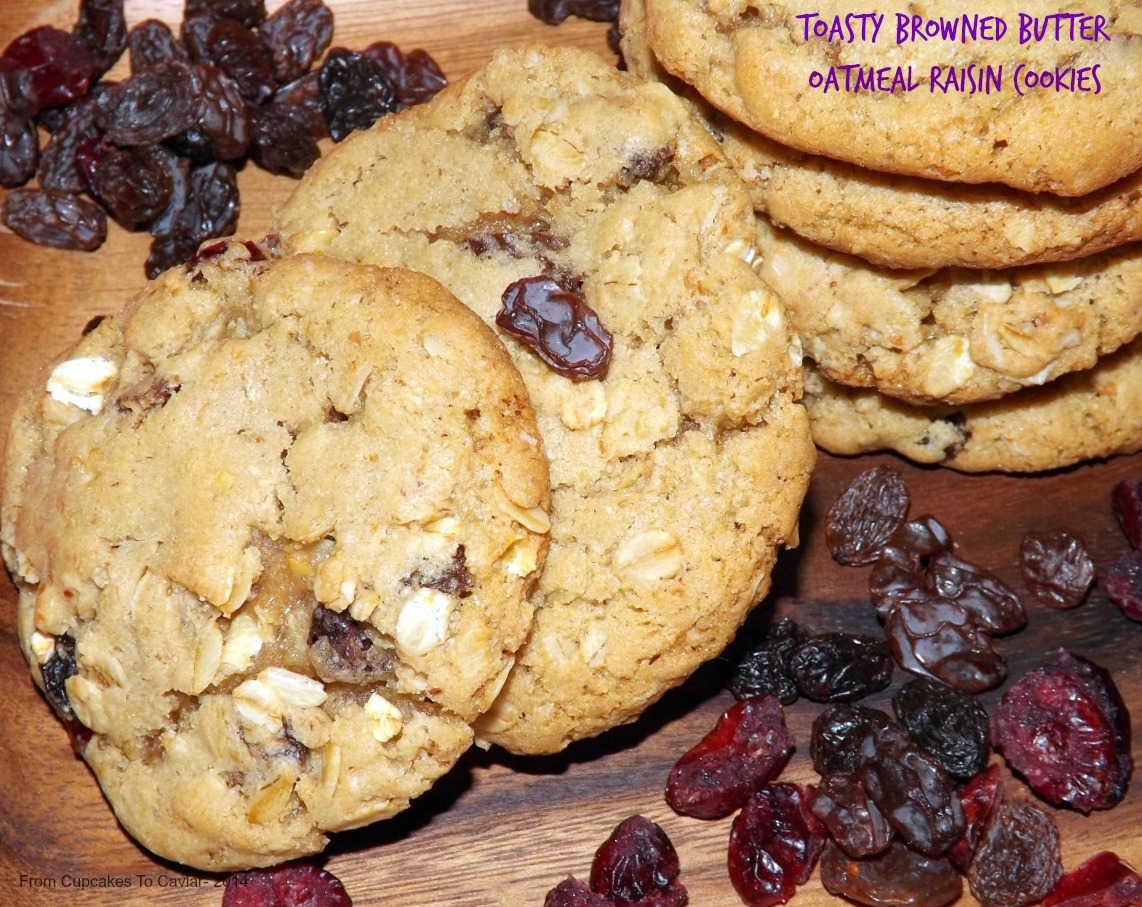
Toasty Browned Butter Oatmeal Raisin Cookies

My husbands favorite cookie is a plain old fashioned oatmeal raisin cookie. While I like them, they aren’t my favorite and because of that and cause my husband is diabetic yet would eat every single cookie made, I don’t make them often. But I had been craving some the last week or so and decided to see what I could do to change them up a bit. I love using browned butter in baking so that was one thought. It adds such a delicious nutty flavor to foods. But then I decided to take the nuttiness one step further and I toasted the oats for these cookies.
These turned out wonderfully. They have a yummy, toasty, almost butterscotch flavor due to the browned butter and toasted oats. The edges have that sought after crispness with nice soft chewy middles. I was rather tickled with myself on how these turned out and can’t think of anything I would change next time I make them. I wasn’t sure what to name them so I asked my facebook readers to help me. Unfortunately, though they made some awesome suggestions, none quite resonated with me so the above name is what we ended up with.
You know the drill… 🙂
Toasty Browned Butter Oatmeal Raisin Cookies
- 1 cup unsalted butter
- 2 cups flour
- 1/2 cup wheat germ (I used the honey crunch flavored type)
- 2 teaspoons baking soda
- 1/2 teaspoon salt
- 3 eggs
- 1/2 cup raisins
- 1/2 cup dried cranberries (you can obviously sub out all of one or the other if you prefer)
- 1 tablespoon vanilla extract
- 1 tablespoon orange zest (optional)
- 1 cup dark brown sugar
- 3/4 cup sugar
- 2 cups oats
- Preheat the oven to 350.
- Place the butter in a medium pot. Over medium to medium high heat, let the butter melt and cook, swirling the pot periodically, until the butter is a dark golden brown and has a nutty scent. Do NOT turn our back on it once it starts to color. This can go from browned to a smelly burned mess quickly. When done, set it aside to cool.
- While this cools, toast your oats. Pour the oats onto a cookie sheet and shake to settle them into a single layer. Toast them until they are a light brown color, stirring and spreading again a couple of times, about 20 minutes. Cool for about ten minutes.
- Meanwhile, combine the eggs, orange zest if using and vanilla and beat well. Dump the raisins and cranberries in there and just let it sit while the butter cools. This gives the fruits time to soften a bit.
- In a large bowl, combine the cooled butter and the two sugars. Beat well to combine. Add in the flour, wheat germ, baking soda and salt. Beat on medium speed to combine. Add in the egg/fruit mix and beat just until combined.
- Fold in the oats. Make balls of dough about 2 inches in diameter (you can make smaller or larger but adjust the cooking time accordingly) and place on an ungreased cookie sheet about 8 to a sheet.
- Bake at 350 until the tops are firm and cookies are a medium golden brown, about 13 to 15 minutes, depending on size. Let cool on pan for a minute then transfer to a rack to finish cooling.
Copyright Notice: From Cupcakes To Caviar images and original content are copyright protected. Please do not publish these materials anywhere without prior permission.