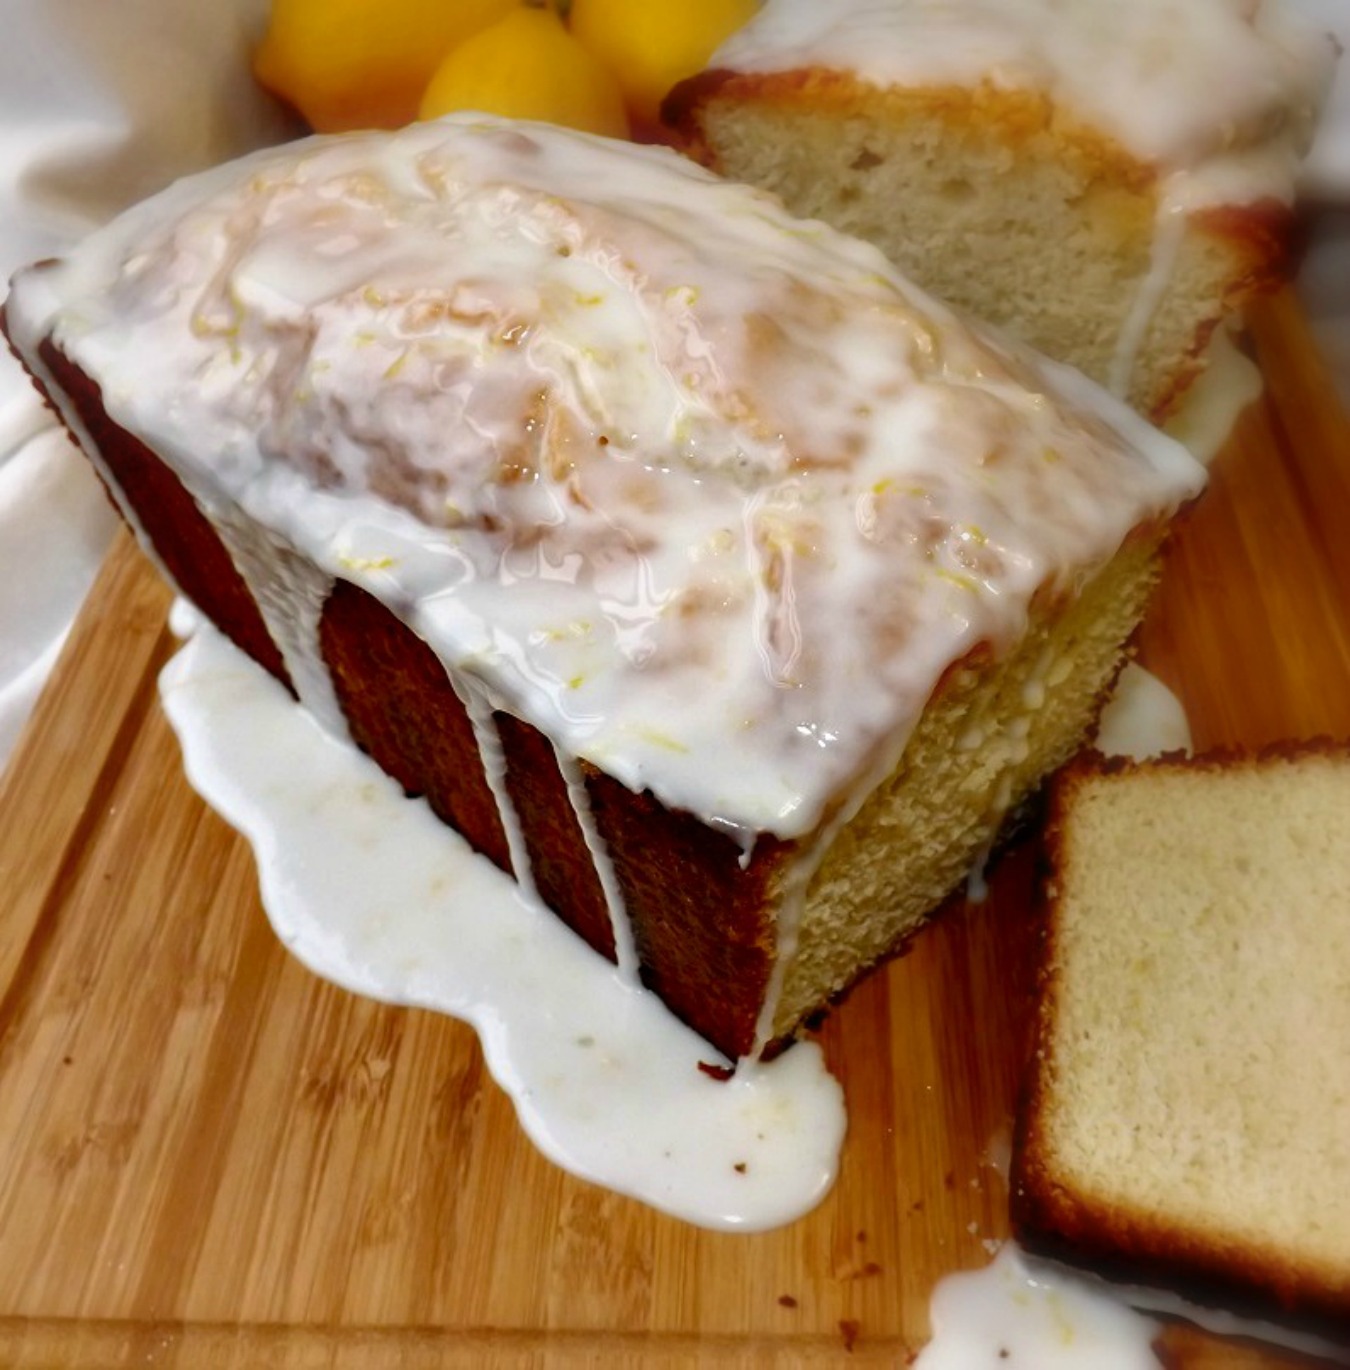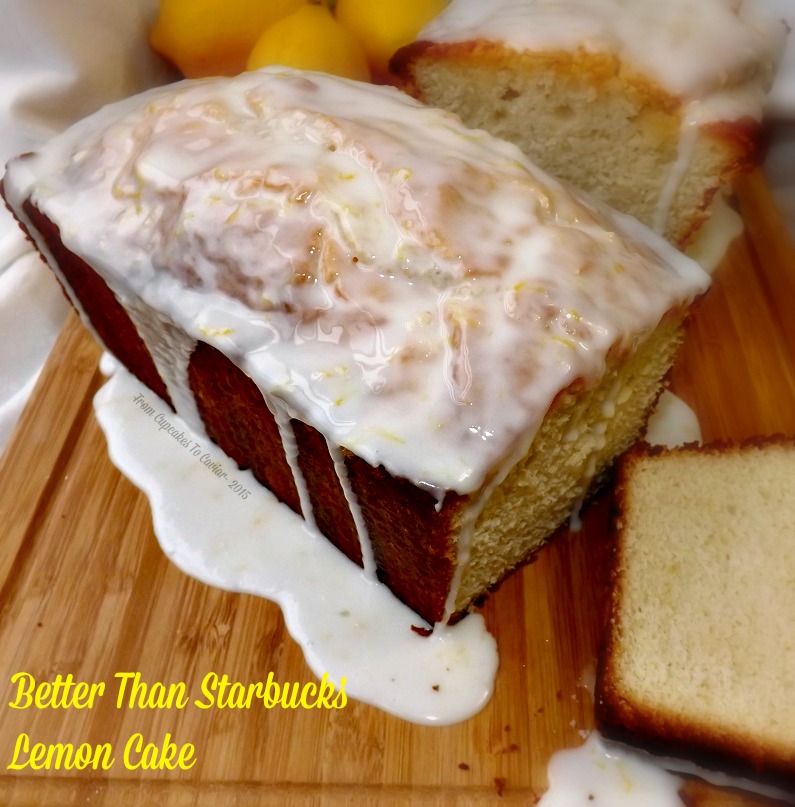
Better Than Starbucks Lemon Cake

This is going to be a short post because I want to get this up before the three or four people who read me, all of whom probably found me while bored at work, leave for the day and never realize I made them a delicious cake. I know, I know, you’ll miss my rambling, but I promise to ramble even more than usual when I come back.
I USED to love Starbucks lemon pound cake. So did my husband. Then they changed how they made it. I have no earthly idea what the Starbucks people thought they were doing when they changed up their recipes and added others. Their pumpkin bread is still good, but in my humble *looks humble* opinion, that’s about it. I tried their new salted caramel bar, all happy because salted caramel and was completely disappointed. And my husband, the man who happily ingests cans of overly processed, heavily salted orange stuff marketed as cheese dip, thinks the lemon cake is kind of yucky now too *she says as tactfully as she can*
So I made my own. I used an old lemon cake recipe I hand copied from food.com a billion years ago when it was recipezaar dot com and played with it. Dare I say it turned out better than the new Starbucks? I DID however accidentally overcook mine a tad so the edges (my favorite part) were a bit dry, but farther in, not at all and the flavor was delicious. This has the sweet lemon taste in the actual cake that the old Starbucks cake had and the tangy glaze. I upped the ante a little bit by doing the old trick of soaking the cake with some lemon syrup. I know; not technically like Starbucks, but that’s why I have the word better in the title 😛
You know the drill….
Love you guys! <3
Better Than Starbucks Lemon Cake
- 1 cup unsalted butter, room temp
- 2 cups sugar
- 4 eggs, room temp
- 1/4 cup lemon zest
- 3 cups flour
- 1/2 teaspoon baking powder
- 1/2 teaspoon baking soda
- 1/2 teaspoon salt
- 1/4 cup fresh lemon juice (about 5 lemons worth, depending on size)
- 3/4 cup milk, room temp
- 2 teaspoons vanilla extract
- 1 1/4 teaspoons lemon oil (I like Boyajian brand) (you can sub lemon extract, but lemon oil is so much better in flavor with none of the chemically taste the extract can have)
- Syrup-
- 1/3 cup lemon juice
- 1/2 cup sugar
- Glaze
- 2 cups powdered sugar
- 1 tablespoon lemon zest
- 2 tablespoons fresh lemon juice
- 2 tablespoons water
- Preheat oven to 350 degrees. Grease and flour two 8 inch loaf pans.
- In a medium bowl, combine the butter and two cups sugar. Beat on medium speed until smooth and creamy and the sugar has had time to dissolve, about 4 minutes.
- Add in the eggs, one at a time, beating well after each addition.
- In a small bowl, whisk to combine the flour, lemon zest, baking powder, baking soda and salt.
- In a measuring cup, combine the milk, lemon juice, vanilla extract and lemon oil.
- Add the flour and the milk mixture alternately to the butter, starting and ending with the flour (flour, milk, flour, milk, flour), beating just until combined after each addition.
- Pour into the prepared pans; bake at 350 until a wooden skewer comes out clean, about 45 to 55 minutes. Cover lightly with foil near the end if it seems to be getting too brown.
- When done, let cool in pans for ten minutes, then turn out onto a rack that has been set over a large cookie sheet (to catch drips).
- While the cake cools, make the syrup- combine the lemon juice and sugar in a small pot. Cook over medium heat, stirring a few times, just until the sugar dissolves. Spoon the syrup evenly over the still warm cakes, letting each spoonful soak in before using more. You should be able to get it all soaked in, but if not, the rest is great in tea.
- Let the cakes finish cooling completely before glazing.
- To make the glaze, simply combine the glaze ingredients in a bowl; start with just the lemon juice as liquid and add water as you need to to get a pourable but not too thin glaze (mine was a bit thin… don’t follow my example 😛 )
- Let the glaze sit to harden a bit after you’ve used about half, then follow up with the rest. Then…. eat. Laugh at the Starbucks people.
Copyright Notice: From Cupcakes To Caviar images and original content are copyright protected. Please do not publish these materials anywhere without prior permission.