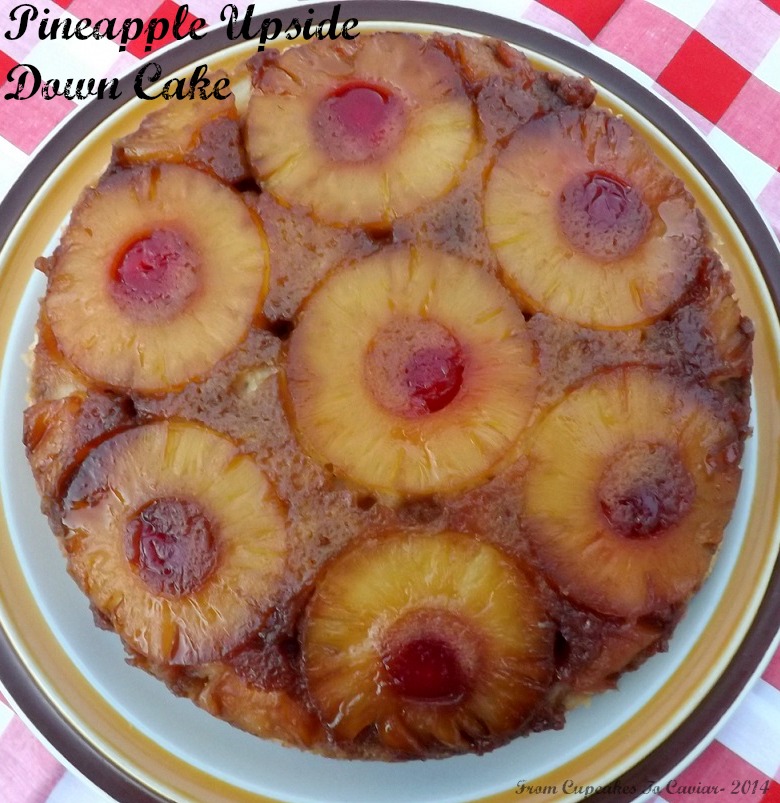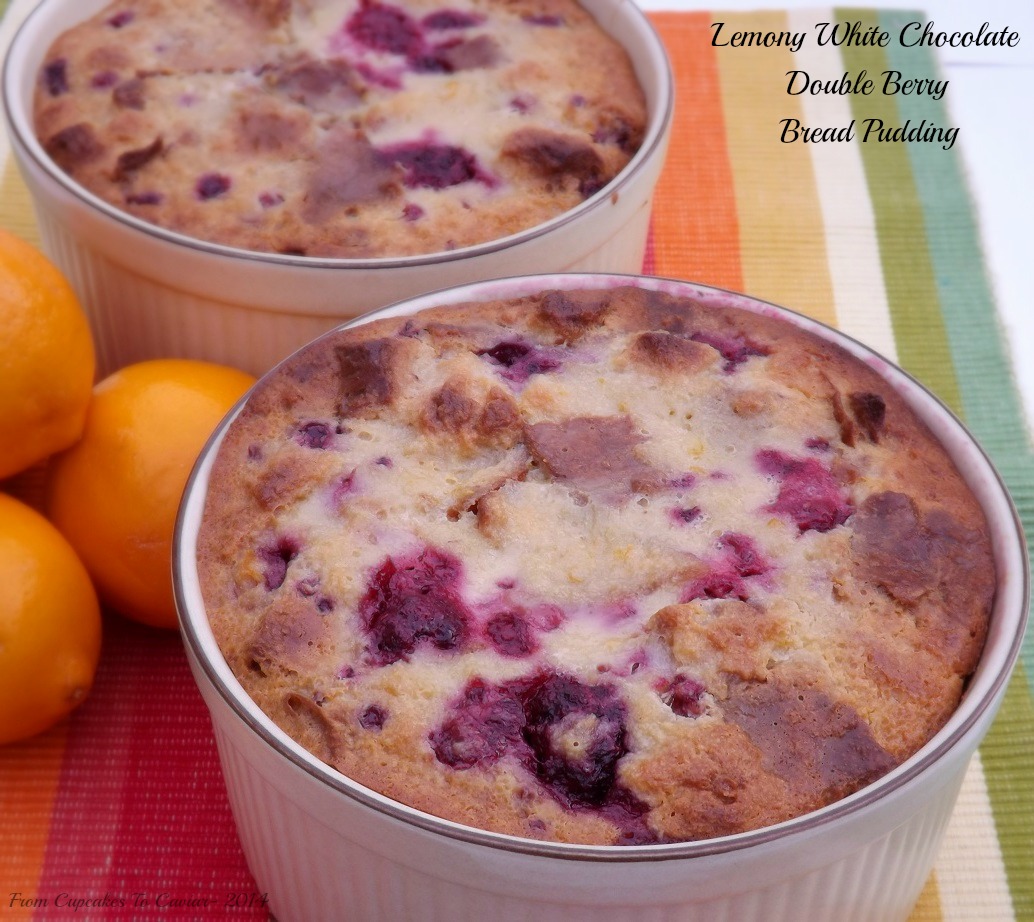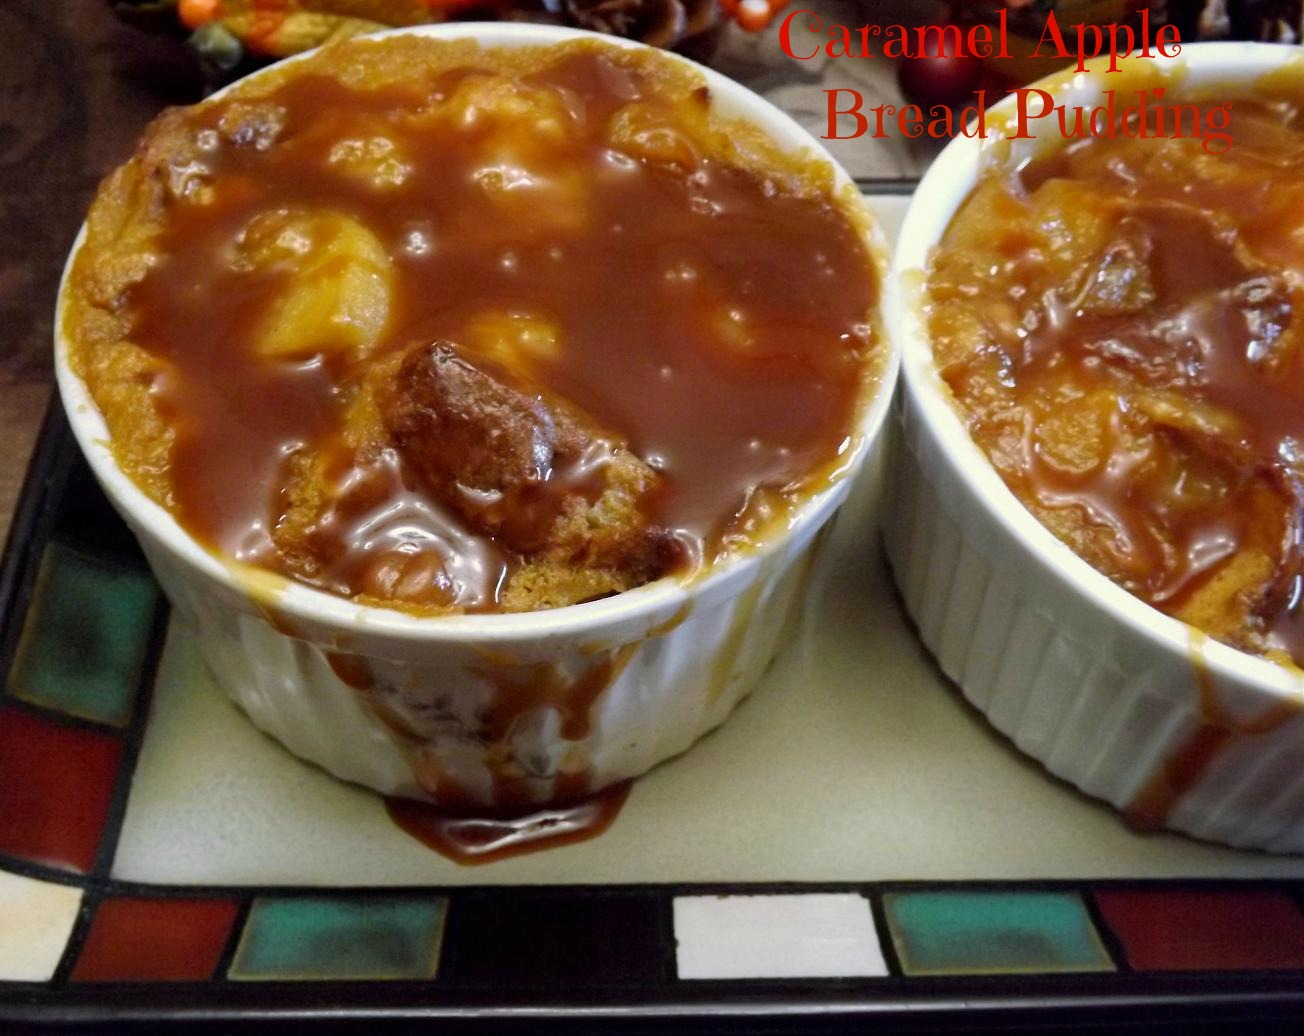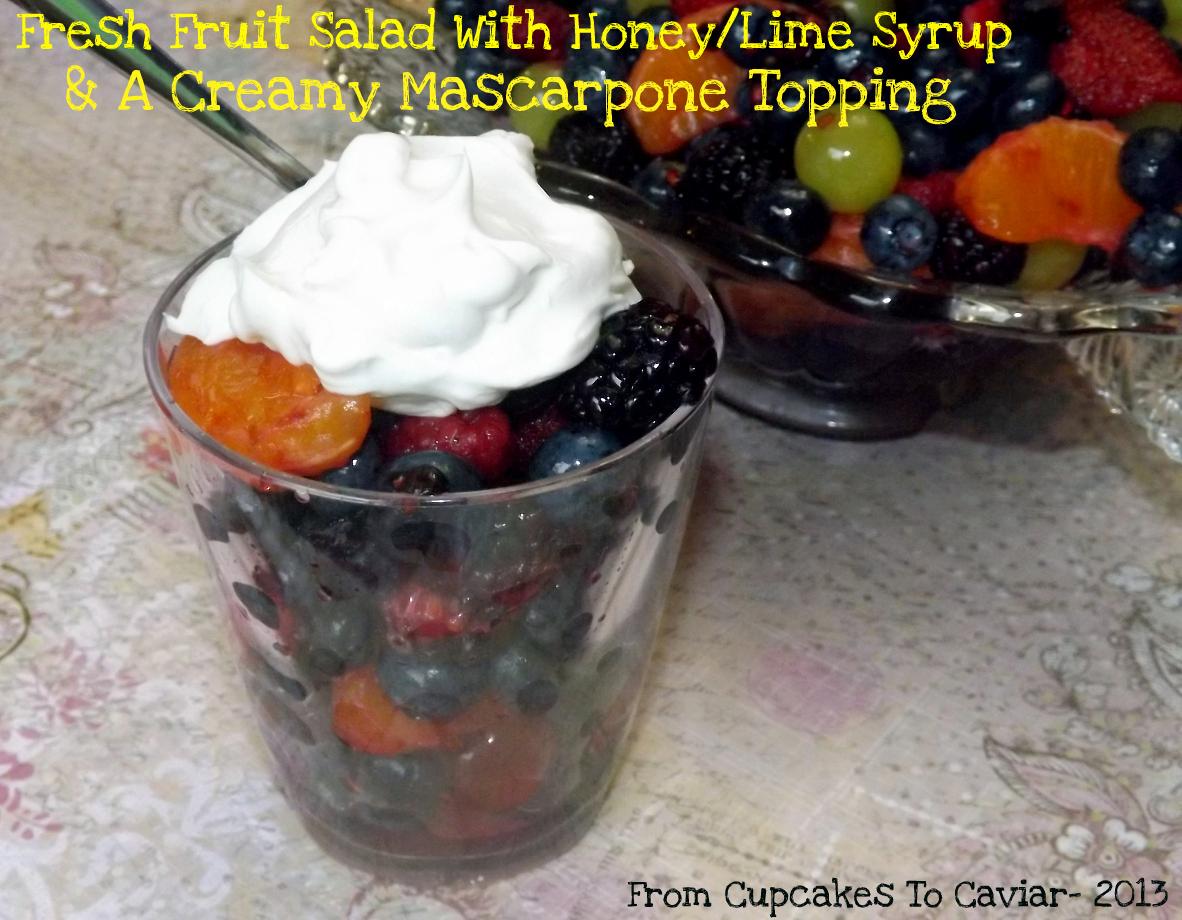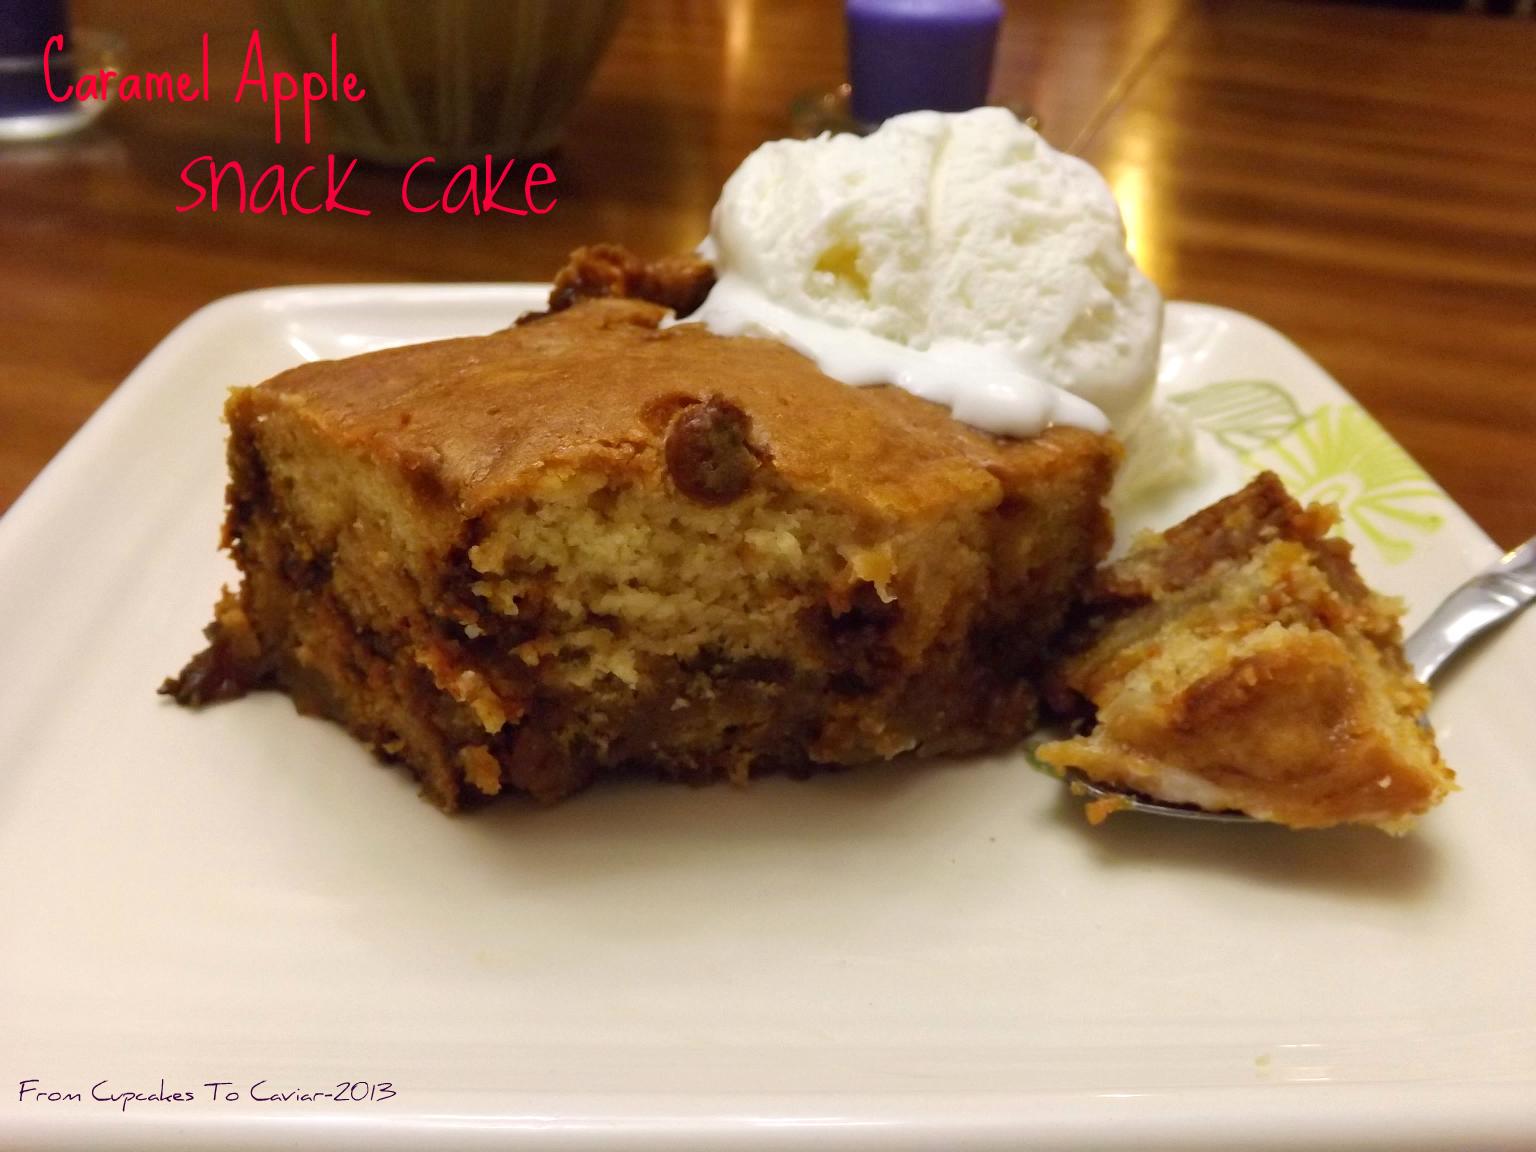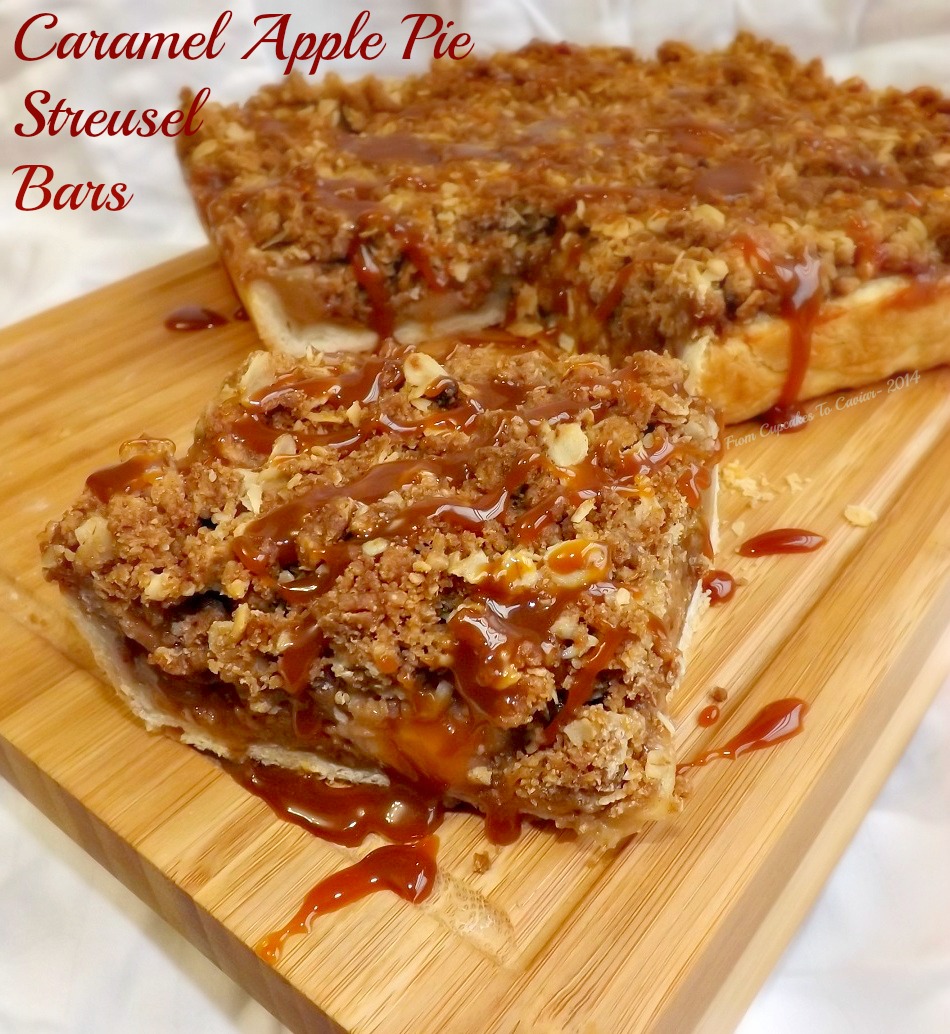
Caramel Apple Pie Streusel Bars

I am notorious for totally sucking at making apple pies. I add far too much cinnamon and don’t slice my apples thinly enough, leaving some pieces half raw and others too mushy. I also stunk at pie crusts. Well, I used to be anyway. For holidays, I STILL tend to buy Marie Callendars Dutch Apple Pie. Why, if I no longer suck? Cause 1) I’m lazy and 2) I love them, so I keep using the whole “I stink at making apple pies!” excuse. Sooner or later, my husband will catch on that I continue to buy $8.00 pies when I could just as easily make one for half the cost, but for now, when Thanksgiving day gets here, I have a Marie Callendar pie waiting in the freezer. Darlin’, if you’re reading this, I’m lying right here…honest, I still stink at making pies *bats lashes and looks innocent*
But, to be honest, I may just leave that pie in there this year and make these bars. I had originally planned on a bar that could be more hand held and had a double crust. But, as happens with me often, and with a lot of bloggers, it morphed into something different. This is still caramel apple pie, but less hand held bar (even though it was done is a square pan) and more “cut a slab of this bad boy, put it on a plate and smother it in caramel sauce and vanilla ice cream” sort of pie. It CAN be hand held, if you’re on the run, since it’s not drippy unless you put far too much caramel lol. But it’s really more of a plate dessert.
This is more multi-step than I usually do, but none of those steps are difficult. Make the dough for the crust and while it’s chilling, prepare your streusel and the pie filling. Then roll out your dough, put it in the pan, top with the filling, then top with the streusel. Voila… ready to go. You DO need to let this cool until it’s completely cool however. Really, with any fruit pie, you should do that. How many times have you cut a warm pie and ended up with half of the filling oozing out into the pan? Let it cool and if you want it warm, you can nuke it for 30 seconds. Trust me. It will set up firmer and not be an oozing mess. Once ready to serve, cover it as desired in caramel sauce (in my case, about 8 or 9 cups worth) and maybe some ice cream. Eat, Enjoy. Thank me. Oh..this crust makes enough for two, so if you’re not wanting to double up the filling and streusel and make two pans, just freeze the other half of the dough until you need it. It never hurts to have some on hand.
Caramel Apple Pie Streusel Bars
- Crust- (lightly adapted from Emeril Lagasse)
- 3 1/4 cups flour
- 1 teaspoon salt
- 2 teaspoons sugar
- 1/2 cup butter, cold
- 2/3 cup solid shortening, cold
- 6 to 10 tablespoons ice water (the original recipe called for 4 to 5, but that was nowhere near enough)
- Filling-
- 5 1/2 cups cored, peeled and chopped (bite sized chunks) apples, about 5 apples. I used a mix of tart and sweet apples
- 1 1/2 tablespoons lemon juice
- 2/3 cup sugar
- 3 tablespoons flour
- 1 tablespoon cinnamon
- 1/2 teaspoon ground cloves
- 1/2 teaspoon ground nutmeg
- 1/2 teaspoon ground ginger
- 1 cup Kraft caramel bits (found in the baking aisle)
- Streusel-
- 3/4 cup flour
- 3/4 cups oats (NOT instant)
- 1 teaspoon cinnamon
- 1/2 teaspoon salt
- 1/2 cup dark brown sugar
- 1/2 cup unsalted butter, cold
- caramel sauce for topping
- Make the crust- Preheat oven to 375 degrees. Line a 9×9 square pan with foil, using two long pieces, each going in the opposite direction. (line one way, turn pan, line the opposite way, so that all four sides of the pan have a layer of foil) In a large bowl, combine the flour, salt and sugar. Using a pastry blender, cut in the butter and shortening until it looks like small pebbles or peas.
- Add the ice water, no more than 2 tablespoons at a time, mixing well after each addition. Add water until the dough comes together when mixed and isn’t sticky, just firm and holding itself together when pressed. Wrap dough in foil or plastic and chill while you make the streusel and filling.
- Streusel-
- In a medium bowl, combine the flour, oats, salt, sugar and cinnamon. Cut in the butter using a pastry blender or your fingers until it is crumbly with, again, pea sized pieces. It’s ok if some chunks are a bit larger. Set aside.
- Filling-
- In a large bowl, toss the apple chunks with the lemon juice. In a small bowl, combine the flour, spices and sugar. Pour over the apples and mix well, making sure to stir from the bottom, as the flour will settle. Add in the caramel pieces and stir well.
- Put together-
- Get your chilled dough. Cut in half and store half for later use. On a lightly floured board, roll the dough out into a square that measures about 2 inches larger than the pan, about 11×11. Easiest way to gauge- just hold the pan upside down over the dough and eye how large it is. If you need more dough, just use some from the saved half. That half can still be used for mini tarts or tassies. Gently (I use a dough scraper) lift the dough up and lay it in the pan. Press gently down into the pans, going up the sides about 2 inches. If it is uneven, carefully cut tiny bits off of the higher areas and use it to patch onto the shorter ones.
- Pour the filling over the prepared crust, smoothing top. Sprinkle the streusel over the filling. Bake at 375 minutes until the top is golden brown and the filling is bubbling around the edges, about 60 to 70 minutes.
- Let cool in the pan until completely cool. Cut and serve, drizzling (pouring copious amounts of…) caramel sauce on top of each piece, reheating for about 30 seconds in the microwave is desired.
Copyright Notice: From Cupcakes To Caviar images and original content are copyright protected. Please do not publish these materials anywhere without prior permission.